Fire In the Soul

Fire In the Soul
"Fire In the Soul" From the Merka series in The Elves of the Woodland Realm

Thursday, January 29, 2015

Bridal Guide Magazine & Wedding Trends

I was contacted by Bridal Guide Magazine in October of last year. They wanted to see some of my pieces to see if they would work for their March/April 2015 issue. Which was going to be new and different wedding ideas as the unconventional wedding is a trend for 2015. I received the final images of my piece that was chosen and the cover of the issue. I as super excited about it.


It isn't a big feature. But the idea that they liked my stuff and actually chose something of mint to use was just amazing to me. I know my clients have really enjoyed their handmade one of a kind pieces since I receive Etsy shop reviews like:

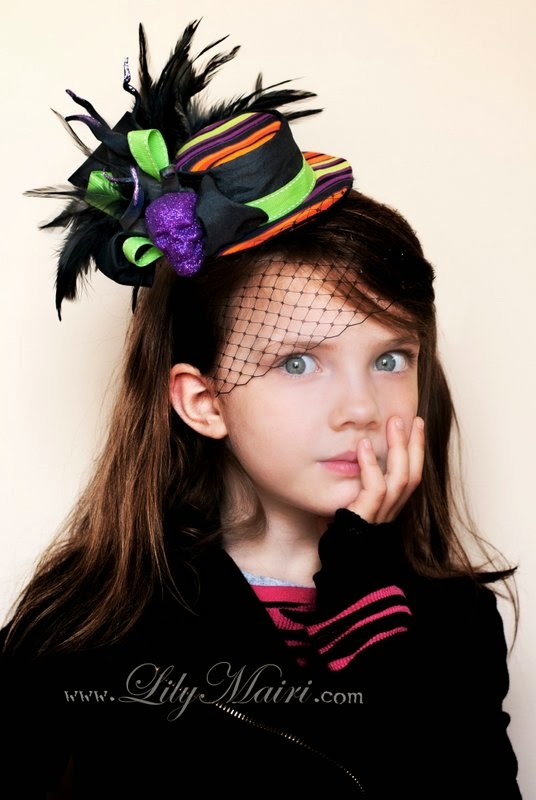
This headpiece exceeded my expectations. The artistry, color, and craftsmanship is exceptional. The designer went out of her way to custom make this item to meet my timeline. It arrived quickly and in perfect condition. I recommend this shop for anyone wishing to purchase stunning, custom headpieces. -Bobbie

Words like these just get to me. I am so grateful for my success. I never expected for anyone to notice my work. Apparently, it is getting noticed even in the UK. I am possibly going to be featured in a new online magazine by Wedding Planning Guilds- UK called Weddings, What's What. I will write about that later.

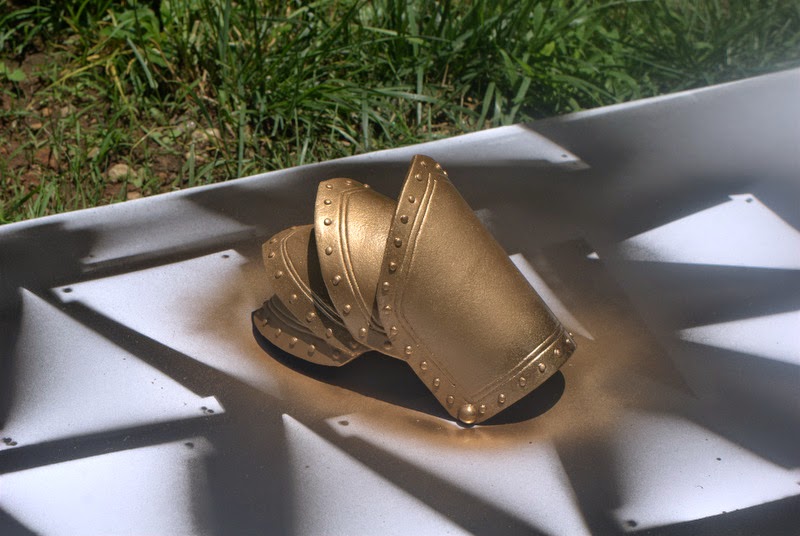
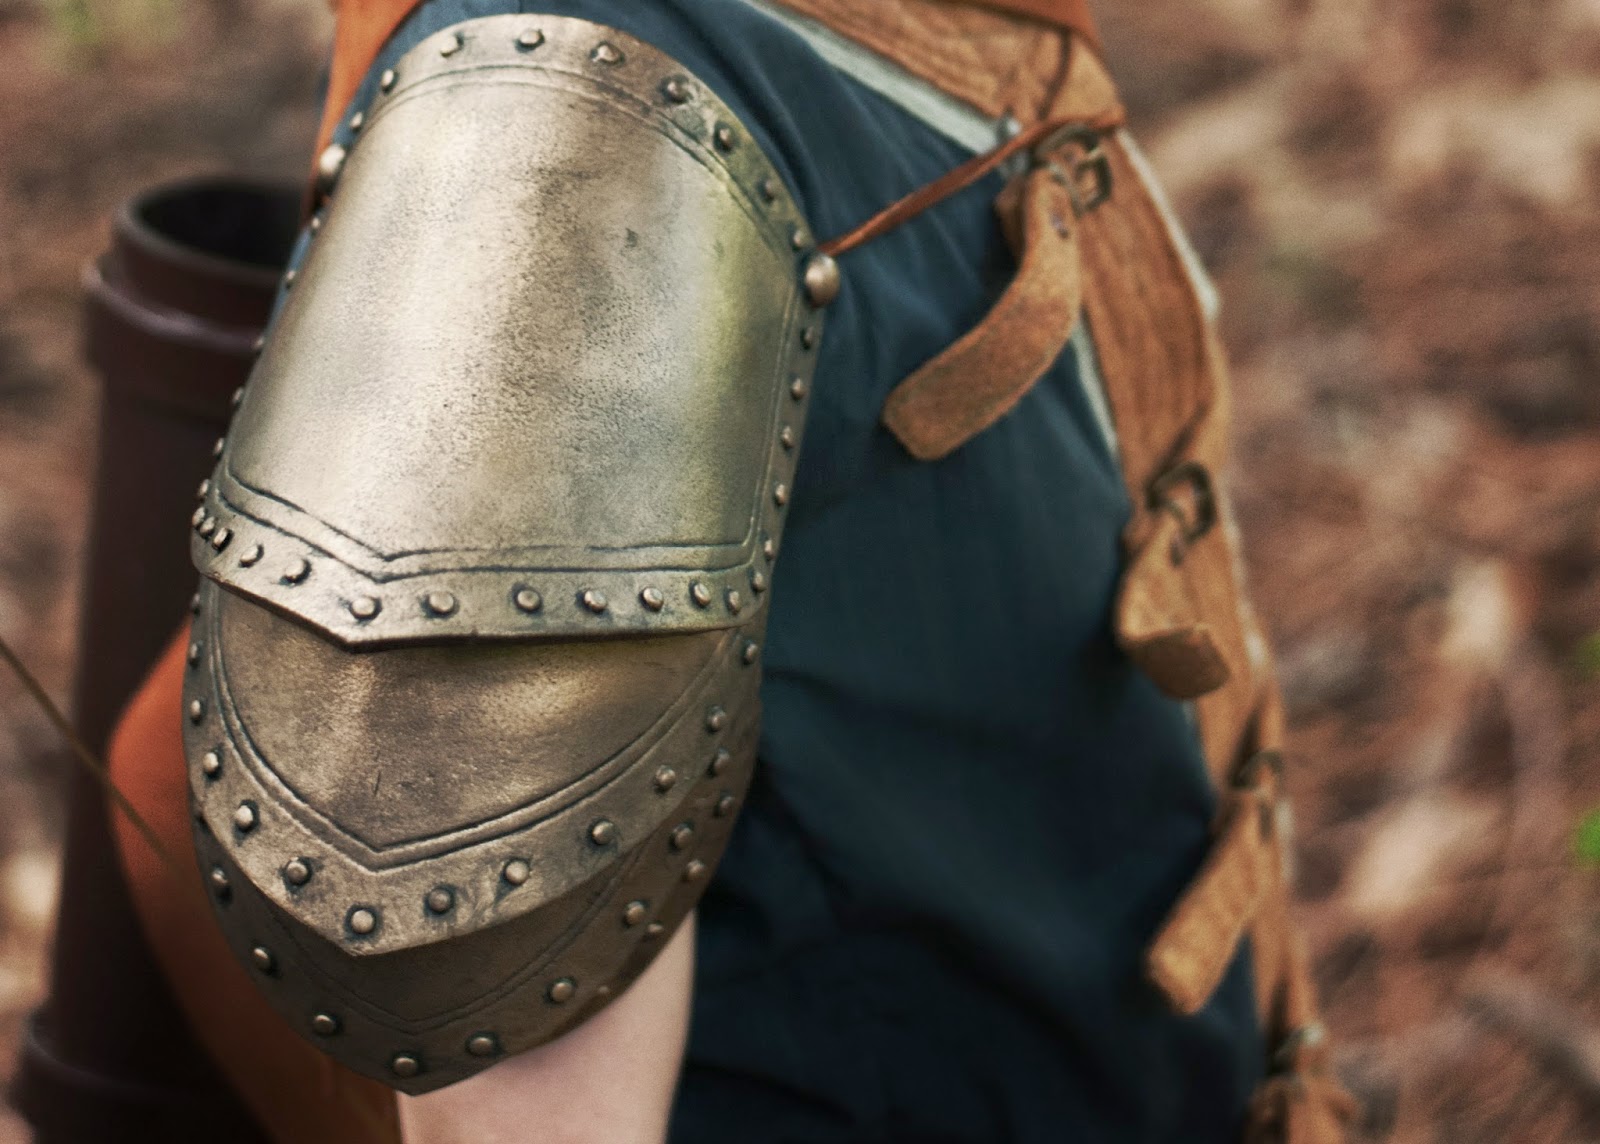
In the mean time, for those that are getting married this year and want something unique and off-beat, www.LilyMairi.com can offer custom head pieces, hair combs and clips, boutonnieres, centerpieces and more. All made to order for you. I recently did these pieces for a steampunk wedding in Canada.

The genres I like to work in are steampunk, neo-Victorian, woodland/fantasy, fairy tales and tribal fusion/bohemian.  Besides the trend with themes there are always color trends every season. This spring the Pantone colors are split into 2 choices, light/airy and aged/vintage-y, with Aquamarine being the top color choice.


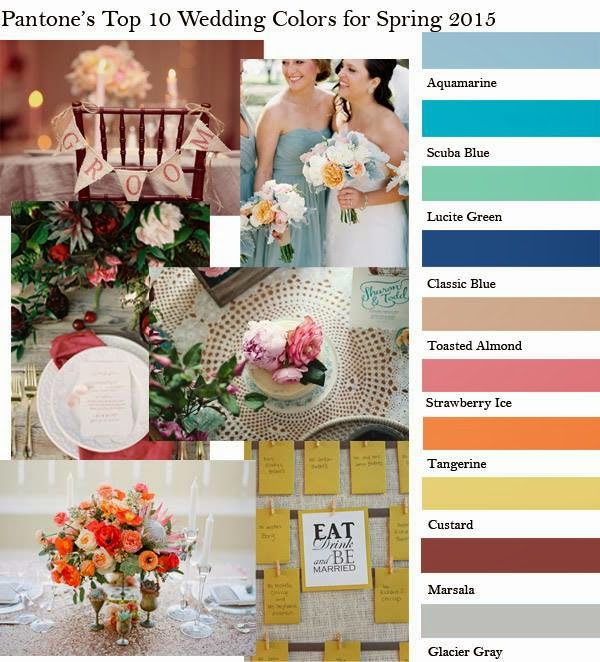
I noticed when I was at this last bridal show that several brides I spoke with are going almost pastel if they weren't doing an unconventional themed wedding. Misty colors such as mint, soft grey, light aqua or lavender. If they were doing a themed wedding they would be going with navy blue, tangerine, and plum. Either way, it is nice to be seeing some new colors in the mix and that people want creative weddings. 

Monday, January 26, 2015

Camera Upgrade

I have been wanting to upgrade my camera for the longest time. I really want to dive more into fine art fantasy portraiture. In order to do so my 9 year old Nikon D40x needed to be put to pasture. Yes, it is a fabulous camera and I will be keeping it for backup. However, the technology has come a long way and I need something that can capture crazy detail, I like to be able to count eyelashes.
I talked with my photographer friends, some pros and some amateurs, and decided to stick with Nikon. The consensus was that I needed to go with a camera that gave me what I wanted but could also afford. I went with the Nikon D610.


When I recieved it I was thrilled! I could use my existing lenses, it has video (not that I do video but just in case I decide to do YouTube videos or something) and I was fairly familiar with the menu set up. However, even with that I still feel like I am learning all over again! 


Like my other camera, it will take me some time to figure it out. But I am super happy with it so far and I love using it with my 50mm lens. 


I just need to find some more models and time to create! 


Monday, January 19, 2015

Snow Queen

I created a headpiece for myself and my husband for Halloween 2012. I was trying to use what I had for both of our costumes. I had white sheets and scrap fabrics, white faux fur, and my white gown from my handmade Princess Leia costume. So I figured we'd be the Winter King & Queen.


We had lots of compliments especially about our headgear. I really didn't want them to be hanging around the house so I photographed them and listed them in my Etsy shop. They both sold within 1 month! My husbands piece was created from sticks and moss from my backyard, and acrylic ice pieces. Mine was created with the same acrylic ice pieces, pearls, rhinestones, paint, glitter, and plastic bottles. That's right, plastic bottles. I'll show you how in a few...

Listing images for my Etsy shop


My crown was bought by a fashion photography in Canada, Paul Chmielowiec and photographed on Maegan from the Elmer Olson model management company. The images were chosen to be the focal point of the display window on the Humber Fashion Institute campus. This window display image was taken by photographer James Doiron.


They contacted me about recreating the icicles in the crown on a much larger scale to go with the window display. I hand sculpted 50, 4' and 5' long "icicles" from plexi-glass then painted and embellished them with glitter. 

Cutting the plexi into long thin sections.

Hand sculpting each piece.


Adding a bit of white paint.

I used Mod Podge with clear crystal glitter to add some sparkle and shine to each icycle.

Glitter on the icycle.

 There was a large group of people that participated in the install of the window display. Kim Rich was in charge and did a fantastic job. They created a video of the installation process.


 So much fun!

Monday, January 12, 2015

Refining My Art Show/Boutique Set Up

Thing have been a little crazy around here. I have had multiple opportunities come up that I never thought would happen, but I will go into that later.

For now, at least for today I am working on refining my art show/ boutique set up. I have been invited to a very large bridal show in East Peoria this month. Since being here in Illinois, I have attended 3 shows total. I am also working on getting my items into local and non-local boutiques. I want to have a unique and beautiful display, so I am changing a few things up based on what I have learned so far...


This is a small section of my display from the last show I was at. I had lots of compliments and sales, which was a pleasant surprise as I was really just going to meet people and network. I found that having my mannequin heads raised worked to draw people in, but they are lightweight and wanted to fall over since they were top heavy with my head pieces.

I fixed that by carving out the inside of the neck space.


Filling the hole with plaster to add weight to the bottom.


Now they can have large or small headpieces and not fall over. 


I also wanted to add something to highlight certain pieces of my art jewelry. I found these beauties at Hobby Lobby and thought they would be perfect (I should have bought all they had!)


The frame boxed just needed a little tweeking. I wanted the inside to be black or chalkboard painted. I also considered putting moss in there. Since I couldn't decide, I just painted them black on the inside for now until I make up my mind. 


 I then added cup hook to hook the jewelry chains and ribbons on.


I just added 2 cup hooks since I am using these for statement pieces. Ta Da! Fab focal points for my display!


If you had a collection of smaller pendants or what-not you could use one hook per necklace and fit 5 or 6 in there. They are wood so if I decide to change the finish of them it will be easy to do. The finish on them is how they came. The glass on the inside has slides so the glass can be removed and replace if broken easily enough. 

I will do another post on the bridal show and post images of my booth display. Until then, happy creating...

Tuesday, September 9, 2014

Here We Are In Peoria, IL


It has been very slow going with the unpacking from the move, hence my absence from blogging. But, I have been busy. Busy mostly with getting settled into our new house, new state, new school, new job, new people, new everything. We are literally starting over. That has been a little bit tough on all of us. We moved from right outside the city of Atlanta, GA to Peoria, Illinois. And yes, parts of it really are just miles of corn fields. Closer to the river in the historic part of town it is much more green and lush. Eventually I will start scouting soon for photo shoot locations since my matchbox size, cookie cutter backyard isn't going to cut it.

Escape from Gringotts at Universal Studios FL
In the mean time, let me get you up to speed.
Since all of my kids have their birthdays in July and we didn't have a house, we decided to take them to Universal Studios Florida for their birthdays. We made lots of wonderful memories. We also had a little party for them at SkyZone in Kennesaw, GA before we moved. I think their daddy had more fun than they did.

SkyZone in Kennesaw, GA


Then there are all the new items to make and photograph for the shop.


Several custom orders for birthdays and weddings


Then there are the seasonal items that are pretty popular, like mini top hats for women and children.


I am possibly going to be published in a book, that's very encouraging for me. Fox Publishing wants to publish some of my photos and products in their winter book coming out, Ice Princess Crafts or something of that nature.


 I was then contacted by a school in Ontario, Canada about replicating the icicles in the Snow Queen crown, on a large scale. As in 5 feet long large scale. That is what I am working on right now, while still unpacking the rest of our personal belongings.


My goal it to have us pretty much settled by then end of September so I can get back into my photography. We will see...


Sunday, July 20, 2014

Working on Tirith

I have at the least 2 more session to complete my Elves of the Woodland Realm series. Right now I am working on Tirith. He is a guardian of the Wood, an archer.

I am using L200 foam for his armor. This is the first time I have worked with it and I LOVE it!

First I made patters for the pieces I wanted with thin kraft paper.


Then I cut the pieces out and drew out the lines where I wanted the "metal" to look engraved and added the brads as little studs to the "metal". L200 foam, when heated keeps what ever form you shape it in. So I heated each piece with my heat gun and shaped all of the pieces.

I then attached all of the pieces how I wanted them and painted a coat of watered down craft glue on it so the paint would not get absorbed into the foam and it would have a smoother finish. 

Now it's time for a few coats of gold spray paint. I wanted bronze, but couldn't find it and didn't have time to order it online. I am in a bit of a time crunch to get this done before we move so my back ground is the same as it is in the other sessions.


The finished piece is amazing. I aged the piece and added leather straps so it would stay on the shoulder even when running and using a bow and arrow.


His entire costume was designed and sewn by me. It will be available in my store Late August, early September.
I also used the foam for Verda's shoulder armor as well. This is an image of one of the shoulder pieces in process. I will post on her costume and photo shoot later in October.


Visit www.LilyMairi.com for some of the final images from the Tirith series and follow my blog, like my Facebook page, bookmark my website, follow me on Instagram @LilyMairi and Pinterest to keep up with the news on my photo book publishing, Elves of the Woodland Realm.